Top 11 Teaching Insights From a Professor of Sculpture, Lessons for Artists and Designers
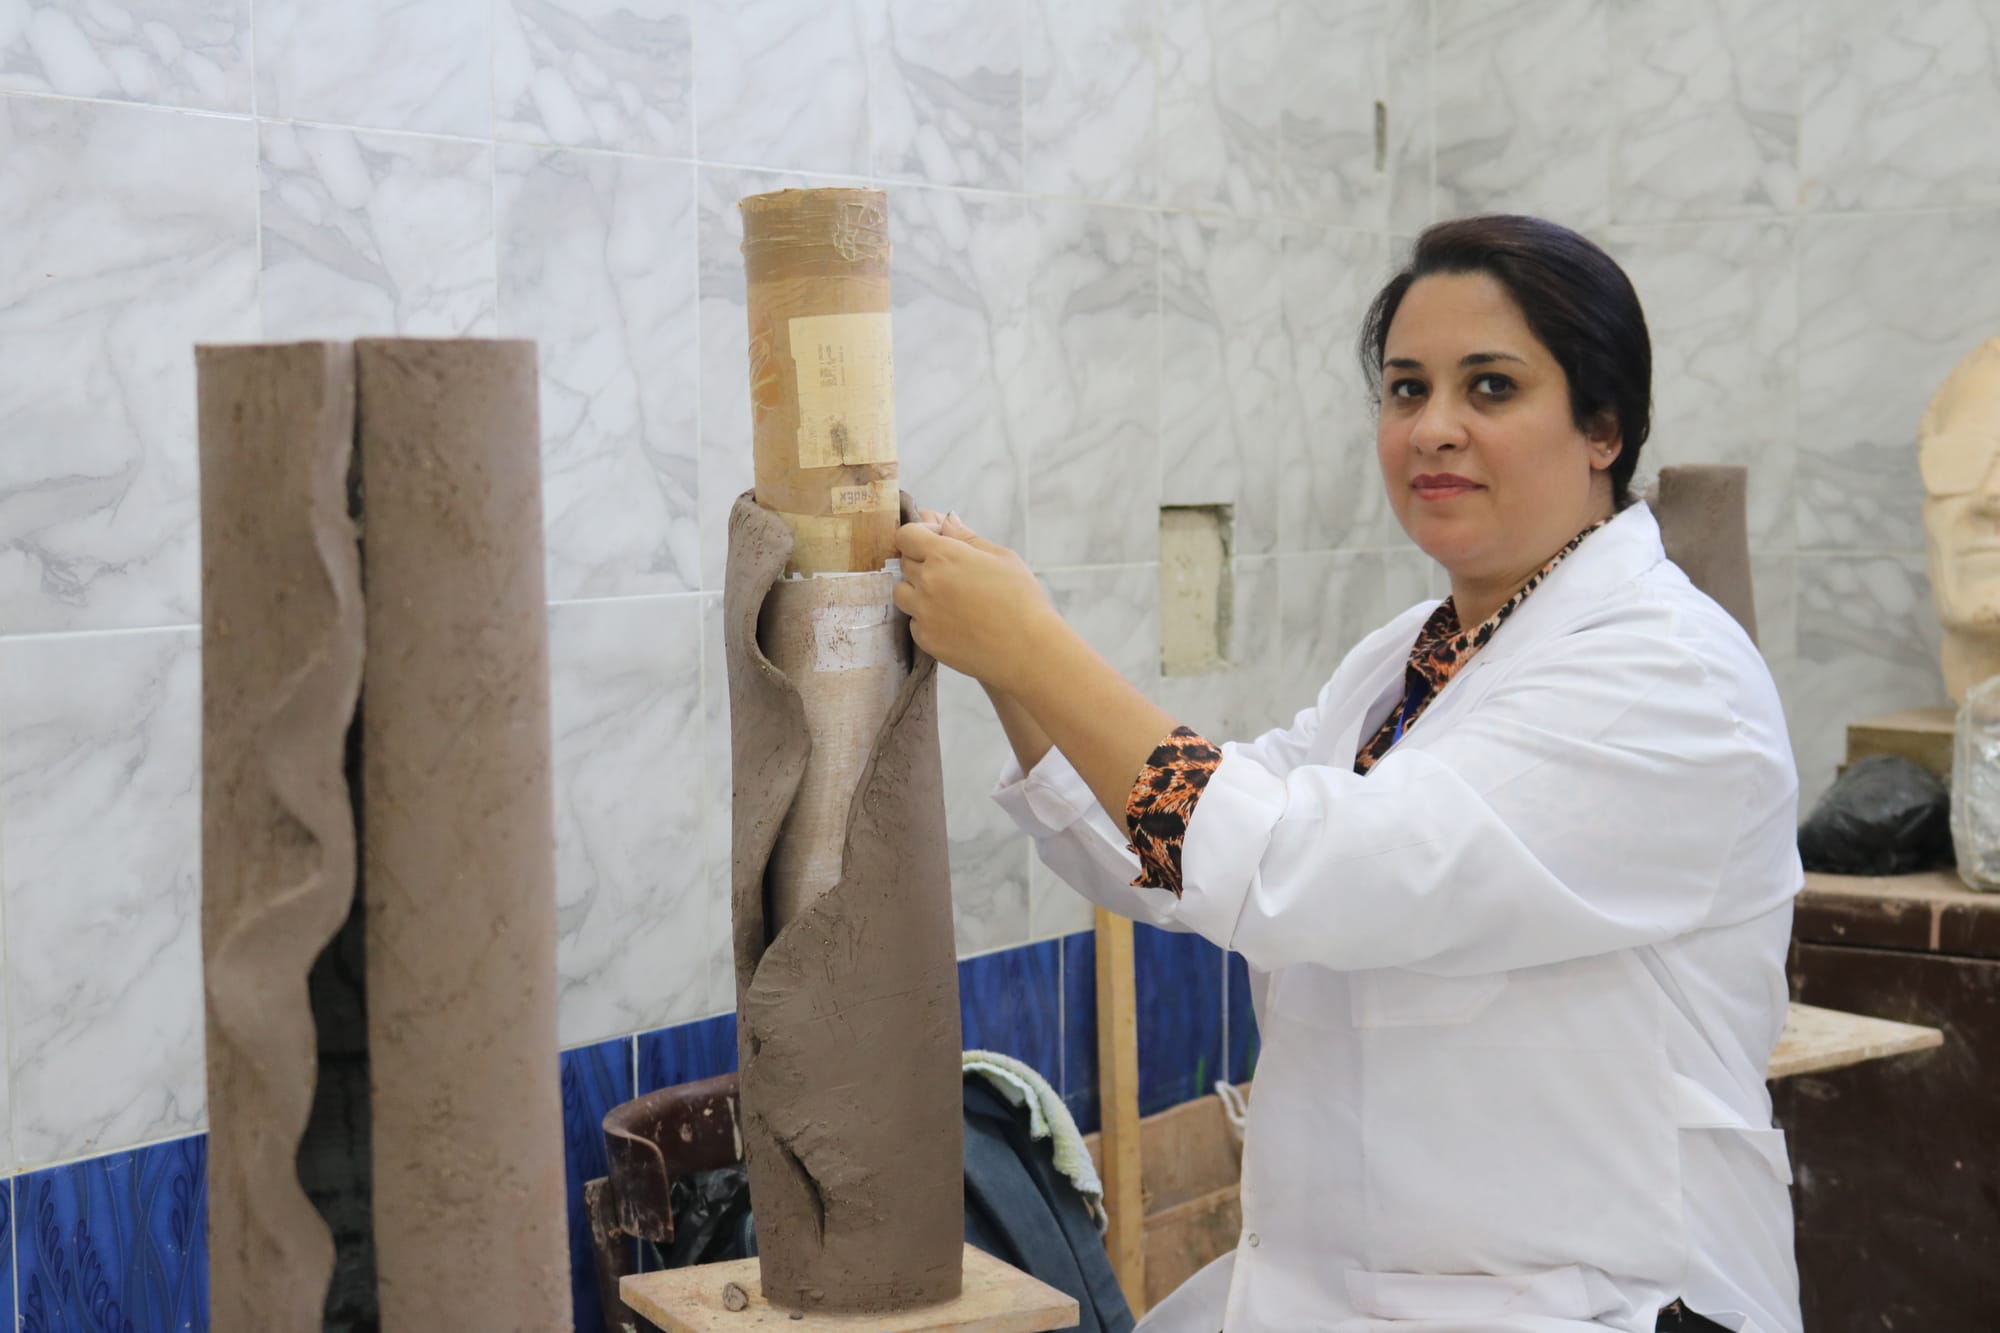
Top 11 Teaching Insights From a Professor of Sculpture, Lessons for Artists and Designers
In sculpture education, the goal is not only to teach techniques, it is to build an artist who can think, observe, edit, and communicate through form. Whether you work in clay, plaster, stone, wood, metal, or digital sculpture, the same foundational habits shape your progress. In the studio classroom, students often arrive with talent and enthusiasm, yet they struggle with consistency, structure, and critical judgment. These are learnable skills.
This article gathers eleven teaching insights drawn from the mindset of a professor of sculpture and design. They are written for artists, designers, and students who want to grow from assignments into a sustainable practice. Each point includes practical studio methods, critique strategies, and ways to translate traditional sculpture thinking into contemporary art and digital workflows.
Think of this as a set of studio principles you can revisit during an academic term, before an exhibition, or while building a portfolio. They will help you develop stronger forms, clearer ideas, and more confident decisions, without losing your personal voice.
1) Train your eye before your hand, observation is your first tool
Most beginners believe progress comes from making more objects quickly. In reality, progress accelerates when your ability to see improves. A professor of sculpture often spends as much time teaching observation as teaching modeling. Why? Because every line you carve, every plane you polish, and every digital stroke you make is based on what you think you see.
Start with a discipline of looking. Observe proportion relationships, negative space, silhouette strength, balance, and weight distribution. Notice how light describes form, where the highlight sits on a rounded plane, where the shadow edge becomes soft, and where it snaps sharply. If you cannot describe these features verbally, your hand will improvise and your forms will drift.
A practical method is the three pass review. First pass, look at the silhouette from multiple angles, do not touch the work. Second pass, look at big planes and primary volumes, ignore details. Third pass, evaluate transitions, edges, and surface quality. This teaches you to correct the structure before you decorate it.
For digital sculptors, the same applies. Rotate the model in flat lighting and in strong directional lighting. Use a simple matcap or clay shader to remove distraction. Train yourself to see lumps, tangents, and unclear plane breaks. Your software provides infinite tools, but your eye chooses what matters.
2) Build with big forms first, details belong at the end
A common classroom error is to start with eyelashes before the head has a correct structure. In sculpture and design, big decisions create the character of the work. Small decisions should support the big ones, not replace them.
Work in stages. Block in the gesture or the dominant movement line. Then establish the largest masses, head, ribcage, pelvis for a figure, or the main primitive volumes for an abstract piece. Only after the big forms read clearly from a distance should you move to medium forms, then surface texture, then micro detail.
This approach prevents the painful habit of refining a weak foundation. If the proportions are wrong, detail will not save it. If the composition is unbalanced, texture will not fix it. Students learn faster when they accept that rough work can be correct, and polished work can be incorrect.
Try a timed exercise: do a 20 minute block-in, then stop. Photograph it from four angles. Ask, does the silhouette communicate the intent. If not, you have identified the real problem early, while changes are still easy.
In digital sculpture, use low subdivision early, or use dynamesh, remesh, or voxel tools with restraint. Do not add resolution until the primary forms are solved. Save details for layers, alphas, or secondary sculpting passes. Your future self will thank you when you pose, retopologize, or prepare for printing.
3) Design the concept with constraints, limitations create clarity
Many artists wait for inspiration and treat constraints as a punishment. In a studio course, constraints are a teaching instrument. They clarify what you are trying to learn, and they force a more intentional design process.
Good constraints can be material, scale, time, theme, or method. For example, you may commit to a single material like clay or a single digital brush set. You may restrict yourself to two dominant forms and one secondary form. You may set a rule that the piece must read from ten meters away, or that it must work as both a sculpture and a relief.
Constraints should connect to your message. If your concept is about tension and resilience, perhaps your constraint is a fragile material or thin structural members, which forces you to engineer stability. If your concept is about memory, perhaps your constraint is working only from written descriptions, which encourages interpretation rather than copying.
For designers, constraints are daily reality. Budget, production methods, ergonomics, and brand language limit your options. A sculpture education that embraces constraints makes you more effective in applied arts and product thinking, because you learn to shape creativity inside boundaries.
One classroom method is the constraint brief. Write a one page brief that includes a goal, audience, scale, tools, deadline, and three non negotiable rules. Then assess every decision against that brief. This builds professional discipline while protecting artistic intention.
4) Learn structure and anatomy as design knowledge, not as a prison
Students sometimes resist anatomy and structure because they fear it will make their work academic or predictable. A professor of sculpture teaches that anatomy is not a style, it is information. Structure gives you the freedom to stylize with confidence, because you understand what you are changing and why.
Even in abstract sculpture, structural thinking matters. Compression, tension, center of gravity, and the way volumes interlock are part of the visual language. When you know how forms are supported, you can exaggerate them without losing credibility.
In figure work, start with the skeleton landmarks that control proportion, then add major muscle groups as simplified volumes. Do not memorize names only, memorize actions and form changes. Ask what happens to the ribcage during a twist, what happens to the scapula during an arm raise, how the pelvis tilts during a contrapposto stance.
In portrait work, focus on cranial structure and plane changes. Many likeness issues come from misunderstanding the skull. A helpful exercise is to sculpt the skull once, then sculpt the head again without reference, then compare. The goal is not perfection, it is building a mental model.
For digital artists, anatomy study is also a workflow advantage. Good structure reduces reliance on excessive surface noise. It also improves rigging and deformation if your model is for animation. Anatomy becomes a bridge between fine art observation and contemporary production pipelines.
5) Master edges and plane changes, this is where sculpture speaks
Beginners often treat surface as a single continuous smoothness. Advanced sculptors understand edges. An edge can be sharp, soft, broken, or lost. These choices control how light moves across the form, and therefore how the viewer reads the sculpture.
Plane changes are the grammar of form. A face, a torso, or an abstract volume becomes understandable when its planes are organized. When planes are chaotic, the work looks muddy, even if it is technically detailed.
Practice with a limited lighting setup, one strong light and one fill. Observe where the terminator line falls between light and shadow. If your plane changes are correct, the light will describe the structure clearly. If not, the form will look swollen or melted.
A studio drill is the planar study. Sculpt a simple head or torso using only flat planes, no smoothing. This forces you to think like a designer. Later, you can soften transitions selectively to create realism, elegance, or stylization.
In digital sculpture, edges are easy to blur with smooth brushes, and that is why digital work can look inflated. Use polish and trim tools thoughtfully. Alternate between smoothing and sharpening. Frequently check the model in silhouette and in high contrast lighting. Planes first, pores last.
6) Treat materials as collaborators, each one teaches a different lesson
Material choice is not decoration, it is meaning and method. In sculpture education, working across materials builds versatility and deep understanding. Clay teaches additive thinking and responsiveness. Plaster teaches speed and decisiveness. Wood teaches respect for grain and planning. Stone teaches patience and irreversible choices. Metal teaches structure, joints, and engineering.
When you fight a material, you learn less. When you listen to it, you discover new solutions. For example, a crack in clay can become a designed seam. A casting flaw can become texture language. A limitation in tool access can lead to cleaner planes and stronger silhouettes.
In contemporary practice, digital tools are also materials. A voxel remesh has a particular feel, a subdivision workflow has another, photogrammetry has another. Each one brings constraints and possibilities. A professor encourages students to test workflows and to choose one that supports the concept.
Try a material translation exercise. Create the same small form in three ways, hand built clay, carved foam, and a digital sculpt. Compare what changed. Which version has the clearest gesture. Which has the most honest surface. Which communicates the idea best. This reveals how material shapes your decisions.
If you plan exhibitions, material also affects display, lighting, transport, and conservation. Teaching students to respect these realities helps them create work that survives beyond the studio critique.
7) Use critique as a skill, not as a verdict
Critique can be emotionally difficult, especially when the work feels personal. In a healthy sculpture studio, critique is training for professional life. It teaches you to separate your identity from your current piece, and it teaches you to improve faster than you could alone.
A useful critique structure is description, analysis, intention, and suggestion. First, describe what you see without judgment. Second, analyze how it works, composition, weight, proportion, rhythm, and craftsmanship. Third, restate what you think the artist intended. Fourth, offer specific changes that could strengthen that intention.
For the artist receiving critique, take notes and ask clarifying questions. Do not debate every comment. Later, review the notes and identify patterns. If three people mention the same issue, it is real. If one person dislikes a stylistic choice but others understand it, it may be personal preference.
Teachers also model how to critique with respect and precision. Instead of saying, this is wrong, a professor might say, the torso reads longer than the legs, which changes the character of the stance. That language helps you diagnose and solve problems, rather than feeling judged.
For designers, critique culture is essential. Client feedback, art direction, and user testing are all forms of critique. Sculpture training gives you thick skin, but also the ability to listen intelligently and to protect the core of your concept.
8) Document your process, it is part of your artwork and your career
Many students only photograph the final piece. A professor of sculpture teaches that process documentation is a professional habit. It helps you learn from your own decisions, it strengthens your portfolio, and it supports exhibition applications, grants, and academic evaluation.
Document at key stages: initial sketches, reference boards, armature setup, block in, medium forms, refinements, surface finish, and installation. Photograph from consistent angles and under consistent lighting. Include scale references when possible.
Write short process notes. What was the goal of this stage. What went wrong. What did you change. What would you do differently next time. These notes become your personal textbook.
For digital sculpture, save iterations. Keep screenshots of major milestones, and keep versions before heavy changes. If you use sculpt layers, name them clearly. This is not only organization, it is a way to preserve your thinking.
Process documentation also helps the public understand contemporary sculpture. Viewers often connect more deeply when they see how an idea becomes form. In exhibitions, process materials can enrich the narrative, especially when the work explores identity, place, or memory.
9) Integrate design thinking, sculpture is not only form, it is communication
Sculpture and design share a core responsibility: to communicate clearly. In applied arts education, students are often trained to think about audience, function, and context. A professor of sculpture can strengthen an artist by borrowing design methods without reducing artistic freedom.
Start by defining the message in one sentence. Then define the intended viewer experience. Should the viewer feel calm, confronted, curious, nostalgic. Once you name the intended experience, you can make formal decisions that support it, scale, placement, material, surface, and interaction.
Use thumbnails and maquettes. Designers prototype because it reduces risk. Sculptors can do the same. A small maquette reveals composition issues quickly. It also allows you to test multiple concepts before committing to a large build.
Consider the environment. A piece that lives in a white gallery behaves differently than a piece installed in a public space. Lighting, traffic flow, and viewing distance all change the reading. Teaching students to consider context is a bridge between studio practice and exhibition practice.
For digital sculptors, design thinking includes presentation. Rendering, turntables, breakdown sheets, and scale cues affect how the audience understands the work. A strong model can look weak with poor presentation. A clear design process helps you present with intent instead of randomness.
10) Practice finishing, craftsmanship is part of the concept
Some artists treat finishing as a superficial step. In sculpture education, finishing is a language. Tool marks can express energy. Polished surfaces can express dignity or distance. Rough surfaces can express history or struggle. The finish should be chosen, not accidental.
Craftsmanship is also respect for the viewer. If a joint is weak, a base is unstable, or a surface is unintentionally inconsistent, the viewer is pulled out of the experience. They may focus on faults rather than meaning. Strong craftsmanship allows the concept to be seen without noise.
Teach yourself a finishing checklist. Are there unintended fingerprints. Are edges consistent with the intent. Does the piece have a dominant hierarchy, or is everything equally busy. Is the base supporting the sculpture or competing with it. Are there distracting tangents in silhouette.
In digital sculpture, finishing means clean forms, intentional detail distribution, and technical readiness. If the model is for 3D printing, check wall thickness, intersections, and manifold issues. If it is for a game or film pipeline, plan topology, UVs, and baking early enough that finishing is not rushed.
Finishing also includes installation. How the piece meets the floor, wall, or pedestal is part of the design. A professor trains students to see the whole presentation as the final artwork, not only the sculpted object.
11) Build a lifelong practice, consistency beats intensity
The most important insight a professor can offer is that an artist is built over time. Students often work intensely before deadlines and then stop. Professional growth requires consistency. You do not need perfect motivation, you need a reliable system.
Set a weekly rhythm. For example, two days for making, one day for study and observation, one day for refinement, one day for documentation and reflection. Adjust to your schedule, but keep the structure. Consistency reduces anxiety because you always know the next step.
Create a personal curriculum. Identify three focus areas for the next three months, such as portrait planes, abstraction through simplification, and digital sculpting for fabrication. Choose one main project and several small studies. This is how you turn ambition into progress.
Also, learn to recover from setbacks. A collapsed clay piece, a cracked casting, or a corrupted file can feel devastating. In teaching studios, these moments are reframed as part of making. Backup your files, support your armatures, test your molds, and build safety into your workflow. Then, when failure happens, treat it as data.
Finally, connect your practice to the world. Visit exhibitions, read artist statements, study cultural heritage, and observe contemporary life. Sculpture becomes stronger when it is fed by real experience. When you combine disciplined making with thoughtful living, your work develops depth, not only skill.
Closing thoughts
These eleven insights are not rules that limit your voice. They are teaching tools that protect your growth. Train your eye, build big forms, design with constraints, learn structure, shape planes, collaborate with materials, use critique wisely, document your process, communicate with design thinking, finish with intent, and practice consistently.
If you are building a portfolio for exhibitions, academic advancement, or professional opportunities in contemporary art and digital sculpture, return to this list regularly. Each point becomes more powerful as your skills increase. Over time, you will notice a shift: you will rely less on lucky moments and more on repeatable choices. That is the difference between a student who makes projects and an artist who builds a practice.